
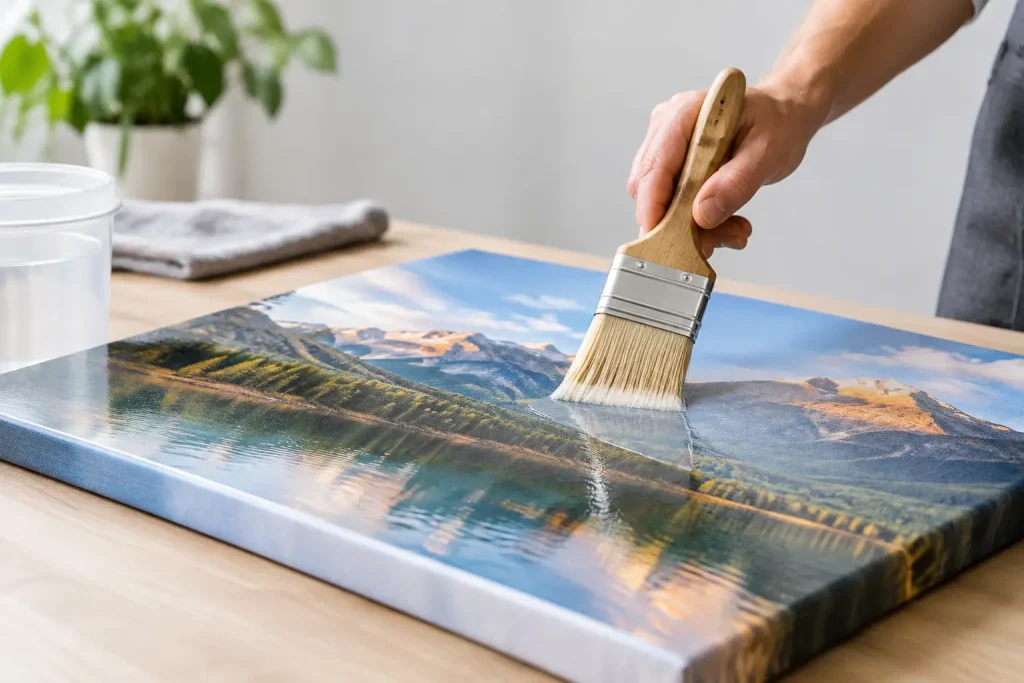
A canvas print can look finished when it comes off the stretcher, yet its most vulnerable period often starts there. During packing, installation and everyday display, the surface can pick up scuffs, finger marks, moisture damage and gradual UV fade. Knowing how to seal canvas prints gives print studios, artists and graphics producers a practical way to preserve the image without hiding the character of the canvas.
A well-chosen liquid coating protects the ink and surface while retaining the texture that sets canvas apart from a flat photographic print. The right system depends on the ink set, canvas coating, intended environment and finish required. A decorative indoor reproduction needs a different level of protection from a print destined for a busy retail wall, hospitality venue or public-facing display.
Why seal a canvas print?
Canvas is not automatically protected because it has been stretched or because the ink feels dry. Pigment and dye inks, solvent systems, latex and UV inks all have different surface characteristics, but each can be affected by abrasion, dirt, cleaning, handling and light exposure. The texture can also make a print hard to clean once dirt has settled into the weave.
Sealing creates a protective layer over the printed face. This can improve resistance to scuffing and moisture, reduce the risk of ink rub during handling and make routine cleaning easier. Depending on the coating, it can also enhance colour depth, give a gloss, satin or matt appearance and improve UV resistance.
For commercial producers, protection is also a cost-control decision. A coating applied before dispatch can reduce avoidable remakes caused by transit damage or marks made during framing and installation. It helps the finished print stay presentable for longer, rather than becoming a short-lived visual asset.
How to seal canvas prints: choose the coating first
Do not choose a coating by its finish alone. Appearance matters, but compatibility and end use matter more. A coating that looks excellent on one canvas and ink combination may look uneven, change the sheen too much or fail to deliver the required protection on another.
Start by identifying the print technology and media. Check that the coating suits the ink type and that the printed canvas is fully cured before application. A print may be dry to the touch but still need more time for solvent release or full ink cure. Coating too early can trap residual solvent, affect adhesion or create surface defects.
Then consider where the print will hang. For a fine-art giclée intended for a controlled home interior, a water-based protective coating with the right sheen may be enough. A canvas for a restaurant, retail site or frequently cleaned environment may need greater resistance to handling, stains and cleaning chemicals. Where prints face strong daylight, UV performance should be part of the specification, not an afterthought.
Water-based liquid laminates are often a sensible choice for canvas because they avoid the plastic film and adhesive layer of conventional lamination. They follow the canvas texture more naturally and are available in finishes that support the intended look. Systems such as ClearShield are designed to enhance and protect digital prints where film lamination is unsuitable or impractical.
Prepare the print and workspace carefully
Most coating problems begin before the applicator touches the print. Work in a clean, dry, well-lit area with a stable temperature and little airborne dust. Fibres, dried ink particles and workshop debris become far more visible once sealed into a gloss or satin surface.
Lay the canvas flat and supported across its full area. If it has already been stretched, make sure the frame is stable and the canvas is evenly tensioned. Loose canvas can move under a roller or brush, leading to inconsistent coverage. For high-value work, it is often easier to coat the print before stretching, then let it dry and cure fully before finishing.
Inspect the image under raking light. Remove dust with a clean, dry method that will not scratch the ink surface. Avoid household cleaners, tack cloths that leave residue and aggressive wiping. If the print has fingerprints, oil marks or visible contamination, test any cleaning method on a spare printed sample first. A protective coating applied over a mark does not make the mark disappear.
Apply an even coat without flooding the texture
Before coating a production print, make a test panel using the same canvas, ink, image coverage and cure time. This confirms adhesion, gloss level, colour response and the number of coats needed. It also gives the production team a reference for the approved finish.
Stir the coating gently and thoroughly, following the product instructions. Do not shake it vigorously, as this can introduce bubbles that may transfer to the print. Choose the application method according to volume, coating chemistry and the surface you want. Rollers, brushes and spray systems can all be effective, but they do not produce identical results.
For small-format canvas prints and studio work, apply a thin, controlled coat with a suitable fine applicator. Work consistently in one direction, keep a wet edge and avoid repeated passes over an area that has started to dry. Excessive pressure can force coating unevenly into the weave, while overworking can leave roller lines or disturb the surface.
For larger batches, a dedicated liquid coating machine or spray system improves consistency and throughput. This is especially valuable when a print business needs a repeatable film weight across editions, framed canvases or multiple sizes. The aim is coverage, not a heavy build-up. Too thick a coating can obscure the canvas texture, lengthen drying time and increase the risk of pooling at the edges.
Let the first coat dry fully before deciding whether a second is needed. Two thin coats can give a more uniform, durable result than one heavy coat, particularly on absorbent or textured canvas. However, extra coats may alter the sheen and feel, so follow the coating system guidance and judge the result on a test panel.
Match the finish to the artwork and environment
Gloss coatings intensify colour and create visual depth, making them effective for saturated photography and high-impact commercial imagery. They also reflect light more readily, which may be unwelcome in bright galleries or rooms with large windows.
Satin is a balanced finish for many canvas applications. It gives some colour enrichment while reducing glare, and suits photographic reproductions, retail imagery and decorative graphics. Matt is often preferred for fine-art work, particularly where a low-reflection surface is needed. The trade-off is that a deep matt surface may show burnishing or handling marks more readily if the coating is not chosen for the actual conditions of use.
Drying, curing and handling after coating
Drying and curing are not the same thing. A coated canvas may feel dry quite quickly, but the protective layer needs longer to reach full performance. Keep it in a clean area away from dust, moisture and direct heat, and do not stack or wrap the work until the coating has reached the stated cure.
Avoid folding or tightly rolling the print, and do not place interleaving material directly against a freshly coated surface. If the print must be moved, handle it by the stretcher bars or unprinted edges with clean hands or suitable gloves. Packing too early can imprint texture, cause blocking or leave marks that are hard to correct.
Once cured, check the surface in both normal and angled light. Look for missed areas, streaks, trapped debris, edge pooling and uneven sheen. A proper quality check before framing or dispatch costs far less than discovering a fault at installation.
Avoid the mistakes that shorten print life
The quickest route to a disappointing result is using an untested coating, applying it to ink that is not fully cured, or trying to make up for poor coverage with a heavy second pass. Another common mistake is treating every canvas the same. Coated poly-cotton, natural cotton and polyester canvases can respond differently, as can pigment, latex, UV and solvent ink systems.
Do not assume a coating makes a canvas indestructible. Even a high-performance protective finish has limits. Sharp impacts, abrasive cleaning pads, prolonged saturation and severe direct sunlight can still damage the print or substrate. Specify protection for realistic conditions, then give installers and end users sensible handling and cleaning guidance.
For high-value editions, demanding commercial environments or unfamiliar material combinations, technical advice and a controlled test are part of good production practice. The best coating process preserves the artist’s or brand’s intended appearance while giving protection that stands up to the way the print will actually be used.
A canvas print deserves more than a careful final inspection. Seal it with a compatible, properly applied coating, let it cure, and it can leave the studio ready for the knocks, light and handling that real display conditions bring.
